Is Your Pool Leaking? How to Detect and Fix Pool Water Loss
Every pool loses water. The question is whether your water loss is normal evaporation or an actual leak. In Texas, pools can lose 1/4 to 1/2 inch of water per day from evaporation alone during summer. But if you're adding water more than once a week or losing more than 2 inches per week, you likely have a leak that needs attention.
A small leak wastes thousands of gallons per year, drives up your water bill, and can cause structural damage to your pool deck and surrounding landscape. Here's how to figure out if you have a leak and what to do about it.
Normal Water Loss vs Leak: How to Tell
Normal evaporation in Texas
- Spring (March-May): 1/8 to 1/4 inch per day
- Summer (June-August): 1/4 to 1/2 inch per day (sometimes more with wind)
- Fall (September-November): 1/8 to 1/4 inch per day
- Winter (December-February): Minimal, under 1/8 inch per day
Wind increases evaporation dramatically. A consistently windy week in DFW can cause pools to lose 3-4 inches, which looks alarming but is normal.
Signs you have a leak
- Losing more than 2 inches per week consistently
- Water level drops overnight when pump is off
- You see wet spots around the pool deck, equipment pad, or yard
- Pool needs water added more than once per week
- Chemical consumption is unusually high (fresh water dilutes chemicals)
- Air bubbles in the return jets (could indicate suction-side leak)
- Cracks in pool deck or settling around the pool
- Algae growing in one specific spot (can indicate underground leak adding nutrients)
The Bucket Test: Confirm a Leak in 24 Hours
The bucket test is the gold standard for determining if water loss is evaporation or a leak.
How to do the bucket test
- Fill a 5-gallon bucket with pool water and place it on the first or second step of the pool
- Mark the water level inside the bucket with tape or marker
- Mark the pool water level on the outside of the bucket (or on the pool wall)
- Turn off the auto-fill if you have one
- Wait 24 hours — don't use the pool during this time
- Compare the two water levels
How to read the results
- If the pool dropped MORE than the bucket: You have a leak. The bucket accounts for evaporation, so any difference beyond the bucket level is leaked water
- If both dropped equally: Normal evaporation, no leak
- If the pool dropped significantly more: The bigger the difference, the larger the leak
Advanced bucket test
Run the test twice:
- First 24 hours with pump ON
- Second 24 hours with pump OFF
- If the pool loses more water with the pump ON, the leak is likely in the pressure side (return lines, equipment)
- If the pool loses more water with the pump OFF, the leak is likely in the suction side (skimmer, main drain, suction lines)
- If water loss is the same either way, the leak is in the pool shell itself
Common Leak Locations
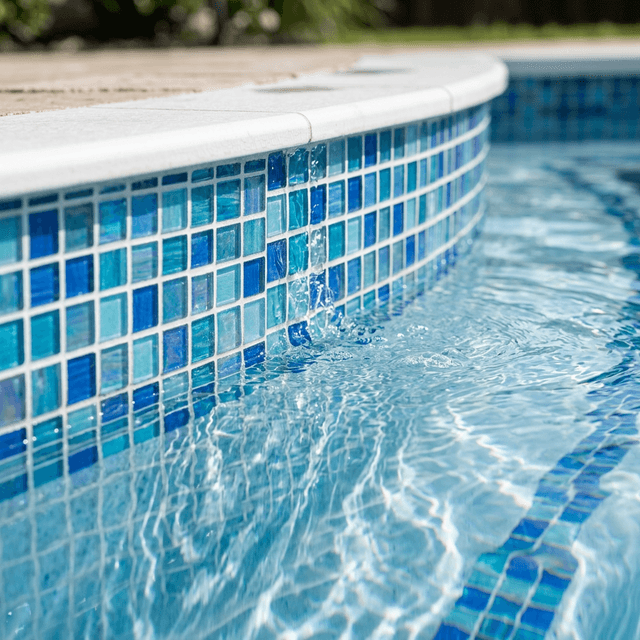
1. Skimmer area
The most common leak location. The joint between the skimmer and pool wall develops cracks over time due to ground movement and freeze-thaw cycles.
Signs: Water level stabilizes right at the bottom of the skimmer opening. Visible cracks around skimmer throat.
Fix: Skimmer repair putty for minor cracks ($20-$50 DIY). Full skimmer replacement for major damage ($500-$1,500 professional).
2. Return fittings and jets
The fittings where water returns to the pool can develop leaks at the gasket or where the pipe connects.
Signs: Water bubbles around return fittings. Slight movement when you push on the fitting.
Fix: Replace gaskets ($10-$30 DIY). Re-plumb fitting ($200-$500 professional).
3. Light niche and conduit
Pool lights are sealed in a niche in the pool wall, with a conduit running to the junction box. These seals deteriorate over time.
Signs: Water drops below the light level and stops. Moisture in light junction box.
Fix: Replace light gasket and cord stopper ($100-$300 professional). Light niche repair ($500-$1,000).
4. Underground plumbing lines
Pipes running between the pool and equipment can crack from ground movement, tree roots, or age.
Signs: Wet spots in yard between pool and equipment. Pump loses prime. Air in lines.
Fix: Pressure testing to locate ($200-$400). Line repair or replacement ($500-$3,000+ depending on location and accessibility).
5. Pool shell (plaster, fiberglass, or vinyl)
Cracks in the pool surface itself can cause leaks.
Signs: Visible cracks in plaster. Water loss consistent regardless of pump status.
Fix: Plaster patching for minor cracks ($200-$500). Full replaster for major structural issues ($5,000-$15,000).
6. Main drain
The drain at the bottom of the deep end can develop leaks at the gasket or pipe connection.
Signs: Water drops to a level near the drain and stabilizes. Excessive water loss primarily with pump running.
Fix: Drain pot repair or replacement ($500-$2,000+ depending on accessibility).
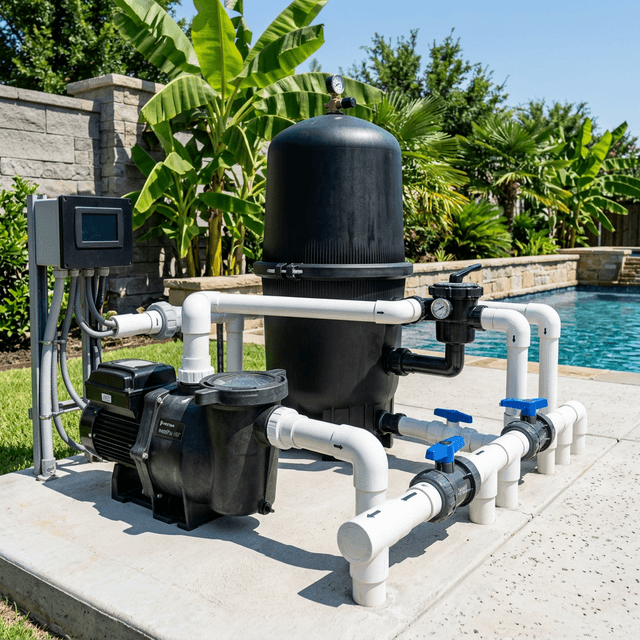
7. Equipment pad
Pump seals, filter connections, heater heat exchangers, and valve unions can all leak.
Signs: Visible water on equipment pad. Dripping from specific components.
Fix: Pump shaft seal replacement ($150-$300). O-ring and union replacements ($50-$200). Heater heat exchanger ($500-$1,500).
Leak Detection Methods
DIY leak detection
- Visual inspection: Walk around pool and equipment looking for wet spots, cracks, and drips
- Dye test: Use leak detection dye (available at our Northlake store) near suspected areas. The dye gets pulled toward the leak
- Bucket test: Confirms a leak exists
- Ink test around fittings: With pump off, squeeze leak detection dye near skimmer, returns, lights, and drain. Watch where it goes
Professional leak detection
When DIY methods don't find the leak, professional detection uses:
- Pressure testing: Plugging and pressurizing individual plumbing lines to isolate which line is leaking
- Electronic listening devices: Hydrophones that detect the sound of water escaping through cracks
- Dye injection with cameras: Underwater cameras with dye to visually identify leak points
- Helium detection: For underground leaks, helium is injected into lines and detected at the surface
Professional leak detection typically costs $200-$500 but saves thousands by pinpointing the exact location before any digging or repair work begins.
Products That Help
Leak detection dye is the simplest tool for finding pool leaks around fittings, skimmers, and lights. We carry professional-grade leak detection dye at our Northlake pool supply store.
Pool putty and epoxy can temporarily seal small cracks in plaster, skimmer throats, and fittings. Great for emergency repairs until a permanent fix can be scheduled. Available at our store and online shop.
O-rings and gaskets for pump, filter, and equipment connections. We stock common replacement seals for Pentair, Hayward, and Jandy equipment at our supply store.
Leak Repair Costs in DFW
| Leak Location | DIY Cost | Professional Cost |
|---|---|---|
| Skimmer crack (minor) | $20-$50 | $300-$500 |
| Skimmer replacement | N/A | $500-$1,500 |
| Return fitting gasket | $10-$30 | $200-$500 |
| Light niche seal | N/A | $200-$500 |
| Underground line repair | N/A | $500-$3,000+ |
| Pump shaft seal | $30-$80 | $150-$300 |
| Plaster crack patch | $30-$100 | $200-$500 |
| Main drain repair | N/A | $500-$2,000+ |
| Professional leak detection | N/A | $200-$500 |
When to Call a Professional
Call a professional when:
- The bucket test confirms a leak but you can't find it
- Water loss exceeds 1 inch per day
- You see structural cracks in the pool shell or deck
- Equipment pad is constantly wet and you can't identify the source
- Underground plumbing is suspected — never dig without professional detection
Simplified Pools provides leak detection and repair services across DFW North. Our experienced technicians can diagnose leaks quickly and provide cost-effective repairs. Contact us for a repair estimate or call (469) 455-1054.
Prevention Tips
- Maintain proper water chemistry — unbalanced water corrodes fittings and degrades plaster
- Don't let water level drop below the skimmer — running the pump dry damages seals
- Inspect equipment pad monthly for drips
- Watch for deck settling — ground movement cracks plumbing connections
- Replace pump shaft seals proactively every 3-5 years
- Keep trees trimmed — roots are a major cause of underground line damage in DFW
Our weekly pool service plans include equipment inspections every visit, catching small leaks before they become expensive problems. Starting at just $165/month. Get your free quote today.
Simplified Pools provides pool leak detection, repair, and weekly maintenance across Northlake, Argyle, Flower Mound, Trophy Club, Justin, Roanoke, and all DFW North communities. Call (469) 455-1054.